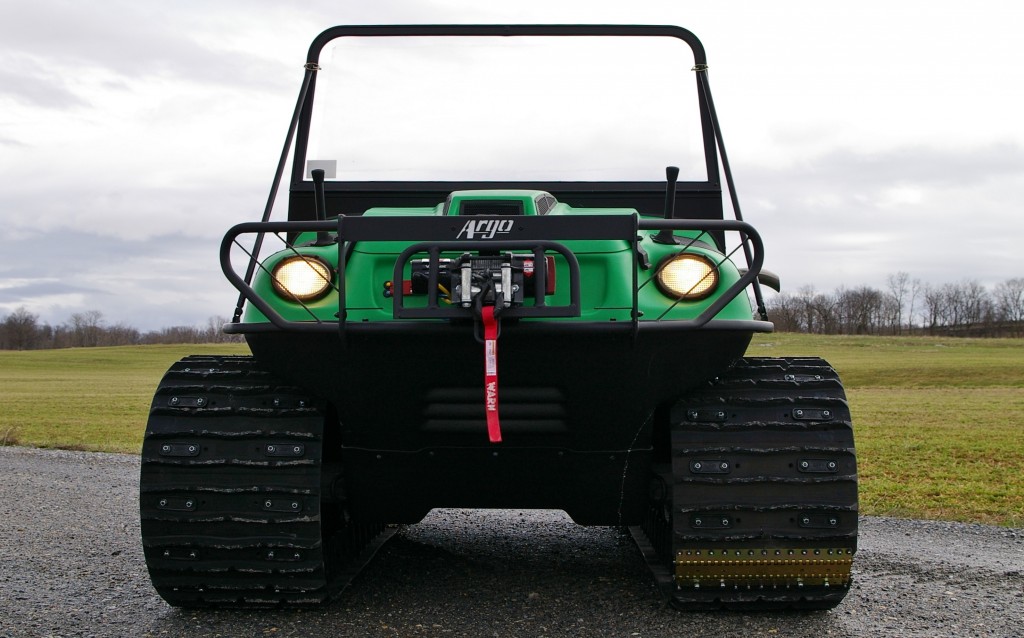
Adding a Windshield to Your Argo Avenger
Even with a helmet on, wind can make riding your Argo uncomfortable, especially in extreme weather. Fortunately, adding a windshield is a relatively straight-forward process that can be done with some common hand tools. Here’s what you need to know to do the job right on your Avenger or HDi XTV.
Tools You’ll Need for Installation
– A drill with a ¼ inch bit and an 1/8 inch bit
– Needle nose pliers
– A small punch
– #2 Phillips screwdriver
– Hammer
– 7/16 open-end wrench
– Carpenter’s square
If you have a hood rack on your XTV, you will also need a 7/64 inch bit.
Optional:
– #2 Phillips screwdriver bit
– Jack nut tool with a 1/4-20 mandrel
– 7/16 inch drill bit
Argo includes nylon locknuts and jack nuts for attaching the windshield to the body. If you want to use the jack nuts, you will need the jack nut tool and drill bit. If you use the locknuts, using a screwdriver bit with your drill will make the job easier.
While you can do this installation yourself, it will be much easier if you have someone on hand to help position the windshield.
Mounting the Windshield Base
1. Check the wiring under the dash. Make sure there are no wires near the top of the raised portion of the dash.
2. Place the bottom of the windshield base against the raised portion of the dash. Fold the windshield forward. You can support the top of the windshield with the windshield supports, but you may find it easier to have someone hold onto the windshield while you line it up.
3. Make sure the base of the windshield is parallel to the back edge of the hood opening. Mark the holes in the base with the punch, or drill ¼ inch pilot holes through the hull. Be sure to check the windshield alignment before marking or drilling each hole.
You can use either the 1/4-20 jack nuts or 1/4-20 nylon locknuts included in the kit to attach the windshield.
Jack Nut Installation:
1. Drill out the bracket holes or indentations using a 7/16 inch drill bit.
2. Insert a jack nut into each hole and use a jack nut tool with a 1/4-20 mandrel to secure each nut.
Nylon Locknut Installation:
1. Support the front of the windshield.
2. Hold the locknut and washer in place underneath the dash while screwing in the bolts from the top.
Support Arms
1. Raise the windshield to the upright position. Attach the support arms to the windshield using the clevis pins.
2. On the intake (right) side of the vehicle, place a square against the windshield hinge. Mark the body 13 ½ inches in front of the square’s edge. Install the swivel head bracket at this point. Use the #8 x 1-inch screws to secure the bracket.
3. On the exhaust (left) side, swivel the bracket forward until it rests on the bumper. Fasten the swivel head bracket to this location.
Fold-Down Windshield Supports
On some newer models, the support attaches to the metal intake screen at two points. You will need to drill 1/8 inch pilot holes through the screen frame to mount the support.
The hood rack installation kit includes a pair of rubber bumpers to support the windshield. Install these bumpers at the point where the windshield will make contact with the rack. Use a 7/64 inch bit to drill holes into the groove on the windshield to attach these bumpers.
1. Fold the windshield down.
2. Place the windshield supports on the hood above the headlights. Position the supports so that they allow the windshield frame to sit parallel to the upper body with the plastic cups making full contact with the frame.
3. Mark the support locations.
4. Snap the strap to the top of the windshield using a dome clip.
5. Slide the strap under the windshield support. With the supports at their marked locations, pull the straps down tight. This keeps the supports from moving while you screw them into the body.
6. Fasten the supports using the included #8 x 1 inch Phillips head screws. Once you have at least one screw in each support, raise the windshield and install the remaining screws.
7. Cut off any excess vinyl strap. Use the extra dome fasteners to secure the strap to the vehicle. These fasteners can be mounted anywhere that will keep the strap secure.
Need Help? We Have the Parts and Service You Need for Your Argo.
Shank’s Argo is a full-service Argo dealer. That means we sell amphibious ATVs, accessories and OEM parts, and we provide service and repairs. Come see us if you want to buy a windshield kit for your XTV, or you’d rather have us install it. Our shop is at 4900 Molly Pitcher Highway in Chambersburg, PA. You can also check out our current stock of vehicles and order parts at www.shanksargo.com. We ship parts and accessories across the U.S. and Canada.