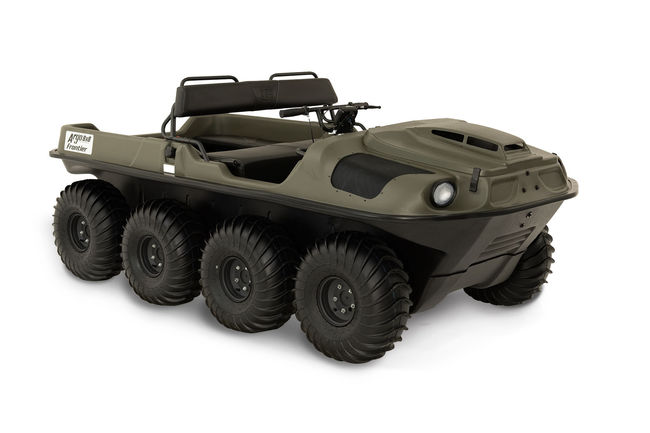
Axle Seal Replacement
Are you finding small leaks in your Argo? Does the grease in your axle bearings look milky? It may be time to take a look at your XTV’s axle seals. Here’s what you need to know about checking, servicing and replacing the seals to keep the water out of your amphibious ATV.
Lubrication
New axles use 80W90 HYPOY-C gear oil. Older models have grease nipples that need to be lubricated with Argo’s own low-temperature formula bearing grease.
Each inner bearing has a grease nipple located on the bearing flange. You can access these grease points by removing the firewall and floor pan. The outer bearing flanges have two grease nipples. These are outside the hull, behind the wheel. 2010 and new models have a slot in the wheel that lets you reach the grease fitting without taking the wheel off of the vehicle. Argo makes an extension tool to connect to the fitting without
Do not use high-pressure greasing equipment. The force from a pneumatic grease gun can push the grease past the seals. Instead, use a manually-operated pistol grip grease gun. If there’s already grease inside the bearing flange, four pumps from a full-size gun should be enough to clear out old grease and water.
Reoil oil-filled bearings after the first 25 hours of operation, then every 150 hours thereafter. Regrease grease-filled bearings every 25 hours. Both bearing types should be relubricated before long term storage, and after water has entered the hull from leaks or through pressure washing.
Leaks from Gasket Break-In
The cork gaskets will form to the bearing mount as the XTV is used, releasing tension on the flange nuts. These nuts should be checked and retightened after the first 8 hours of operation, then every 100 hours thereafter. The nuts are on the side of the flange that faces inside the hull. You may need to loosen the set screw on the drive cog and push the cog toward the center of the vehicle to access the nuts.
Checking the Bearings
With the vehicle lifted off the ground, shake the wheel back and forth. If there is excessive play, replace the bearings. Outer bearings will usually fail first due to water exposure.
Removing the Axle
To replace the outer bearing gaskets or bearings, you must first remove the axle from the vehicle. Doing this almost always destroys the cork gaskets. Have a set of replacements on hand before you start disassembly.
1. Lift the vehicle. Remove the floor pan and firewall, and unbolt the wheel attached to the axle you want to remove.
2. Remove the chain that wraps around the axle.
3. Remove the thrust bolt from the inside end of the axle.
4. Loosen the cog. It’s held in by an Allen head set screw. Slide it toward the inside of the vehicle. You should now have access to the outer bearing bolts.
5. Loosen the bolts on the outer bearing flange.
6. Loosen the inner bearing set screw. You do not need to remove the inner bearing to extract the axle.
7. Slide the axle out of the vehicle. You may need to screw a bolt into the thrust bolt hole and hit it the bolt with a hammer to get the axle moving.
At this point, you should be able to remove both the inner and outer bearing assemblies.
Rebuilding the Outer Bearing Assembly
1. The outer bearing has two cork seals separated by a metal plate. Remove these from the assembly, then lift the bearing out of the flange.
2. There are two rubber seals on the inside of the flange. Use a seal removal tool to pull them out without scratching the flange surface.
3. Clean all the parts you removed. Check the flange surface for scoring and replace as needed.
Reassemble in reverse order. Do the following if you get stuck during reassembly:
– The bearing fits tightly against the axle, so it may be easier to slide the flange onto the axle, then slide the bearing down the axle into the flange.
– Make sure the lips on the bearing and the plate face away from the hub.
– As you slide the axle into the vehicle, hold the cog between the two frame rails and slide it onto the axle end. Applying a think layer of anti-seize on the axle splines will make it easier to get the cog on the axle.
– You may need to tap the center of the hub with a hammer to get the axle to fully seat inside the inner and outer bearings. Hitting the studs can bend or break them.
Once the axle assembly is back together, lubricate the bearings.
When You Need Parts and Service for Your Argo, Visit Shank’s
Shank’s Argo is one of the largest dealers in this part of the country. That means we don’t just sell these vehicles: we offer the service and parts support you need to keep your amphibious ATV running. If you’re looking for a better off-road vehicle, or you need help with your current Argo, visit us at 4900 Molly Pitcher Highway in Chambersburg, PA.
We also offer test drives so if you’re ready to try out a new Argo, visit www.shanksargo.com.